Our System
Preparation
Effective preparation is essential for achieving an impeccable finish. It's crucial for you to ensure the removal of large objects, such as furniture, before
we commence work. When confirming the work with us, ensure that the designated room(s) won't be in use during our visit and the subsequent drying time of the sealant.
Step 1
Our primary objective in this stage is to eliminate any undesired elements like gripper rods and staples while addressing protruding nails and loose wires. All anticipated repairs, both minor and major, outlined in the initial estimate will be executed. Any unforeseen repairs not accounted for in the estimate will be discussed, and additional costs may apply as necessary.
Step 2
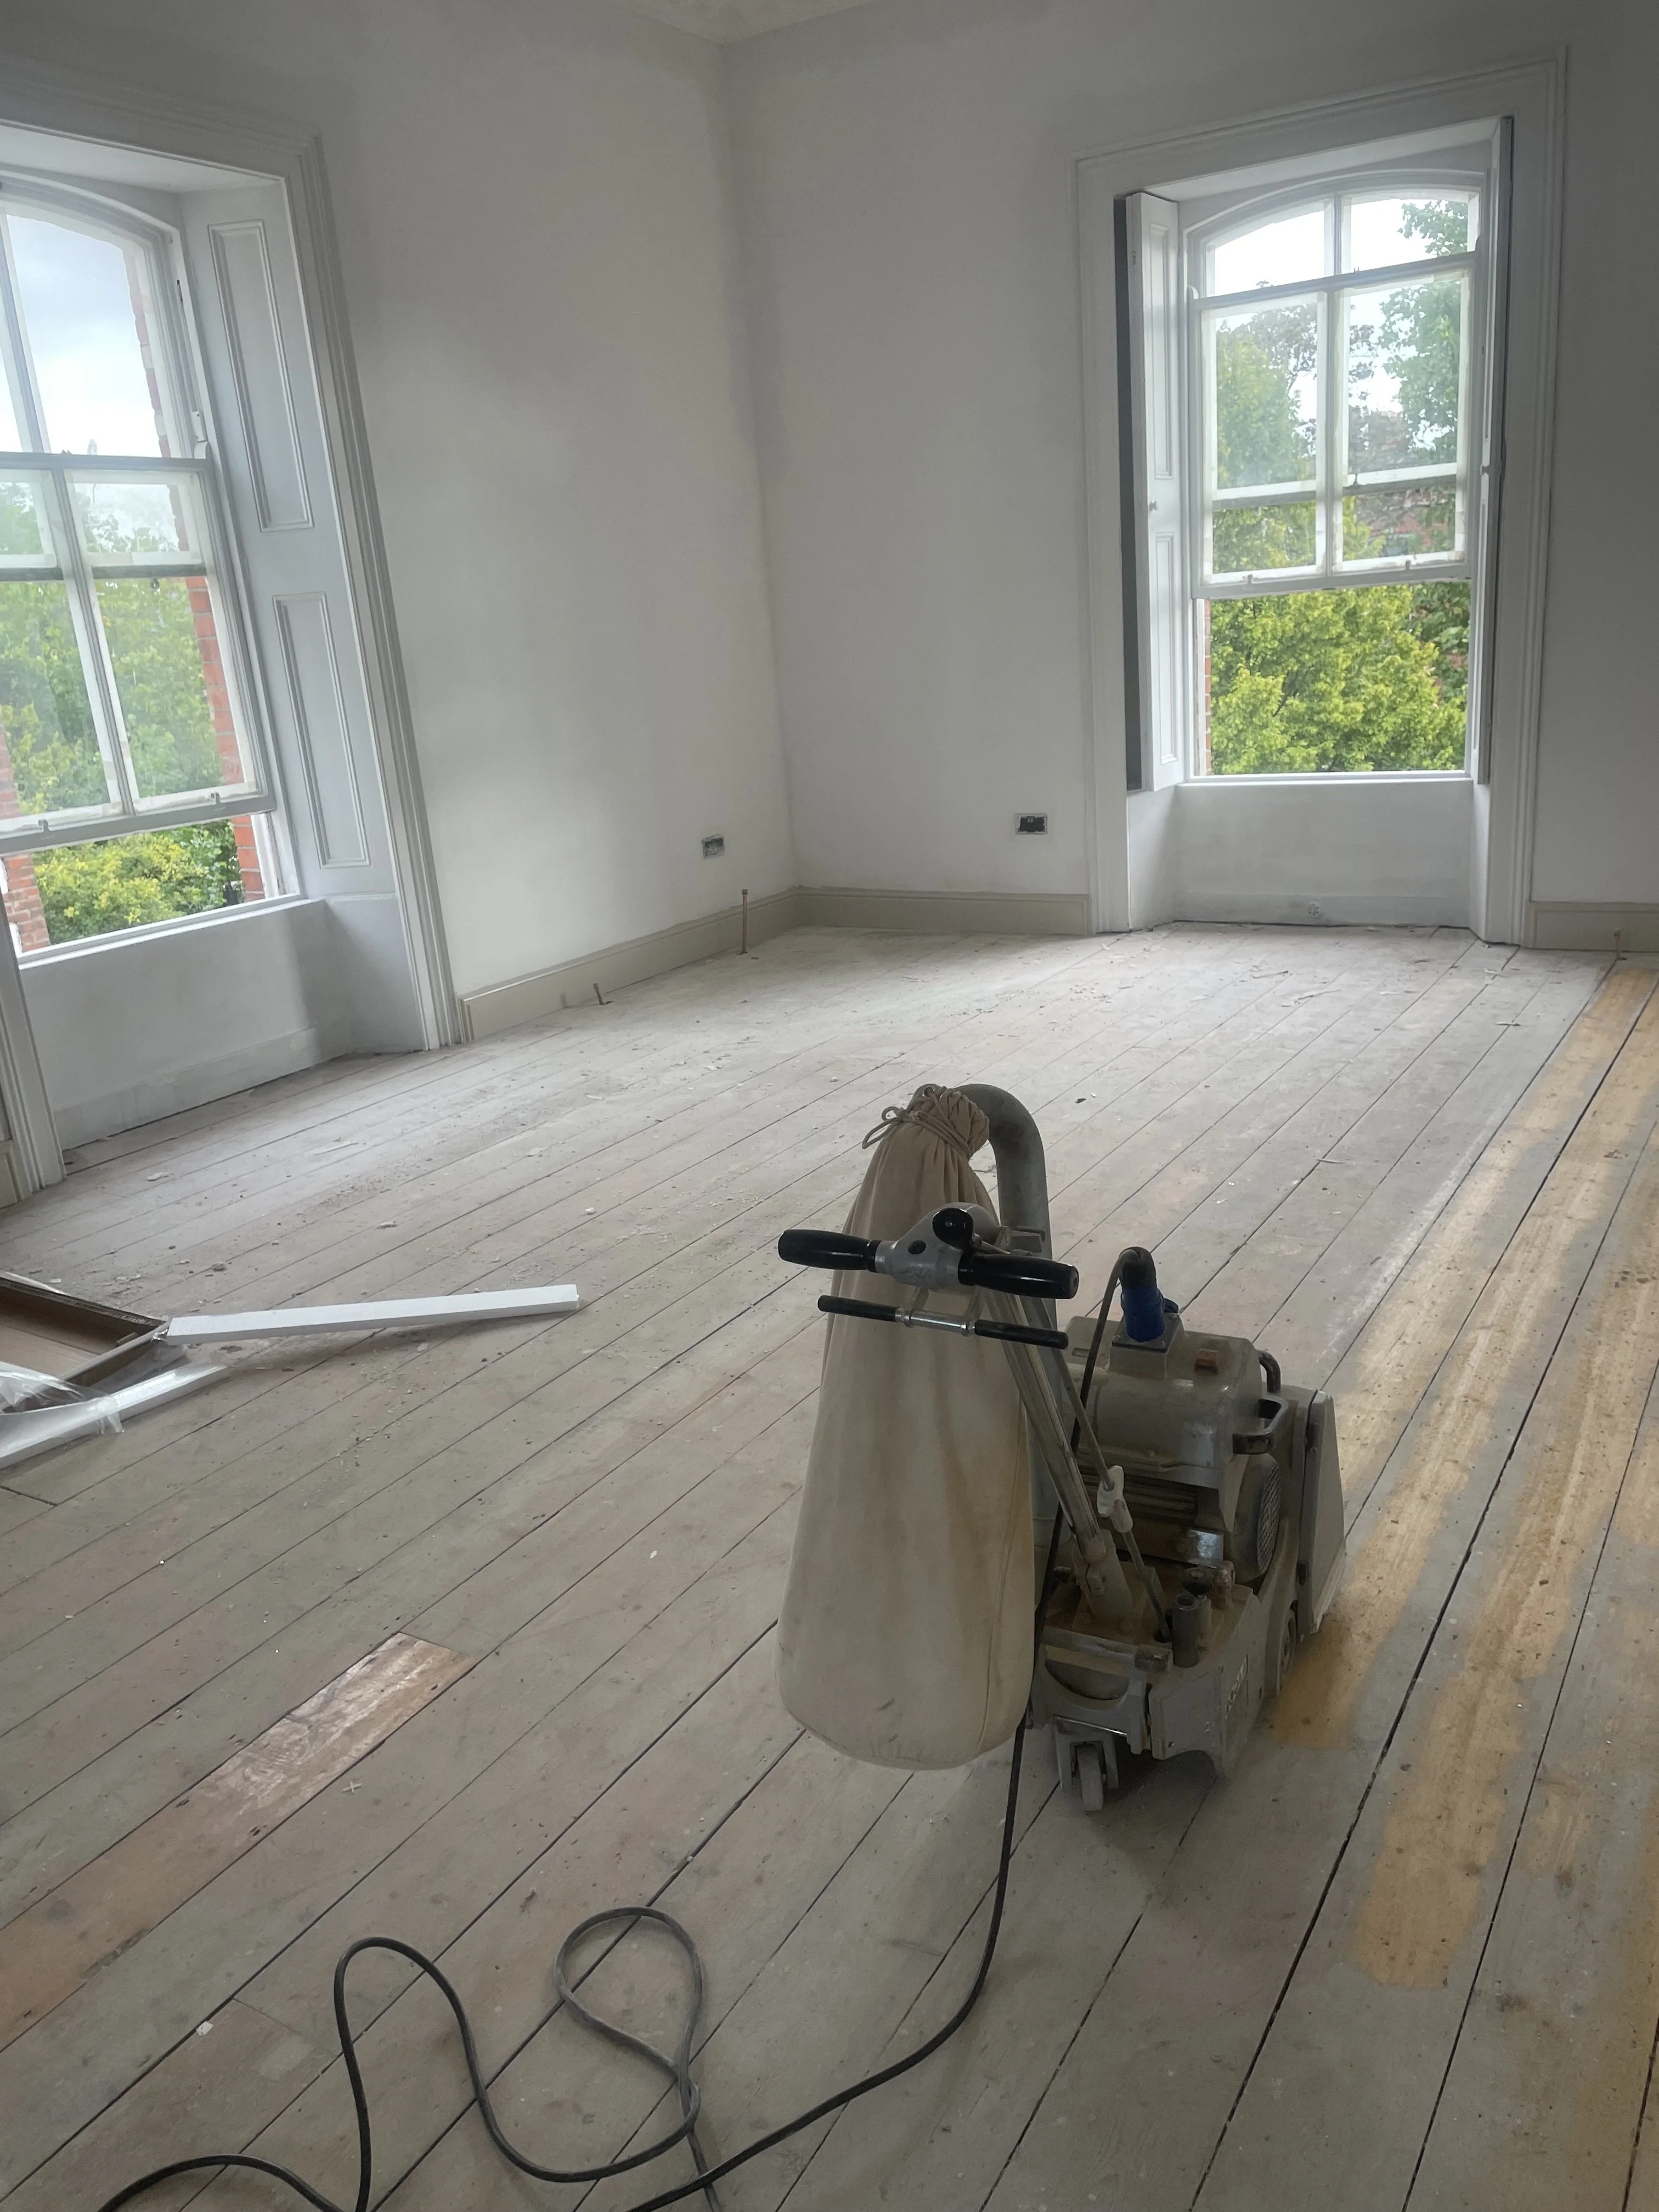
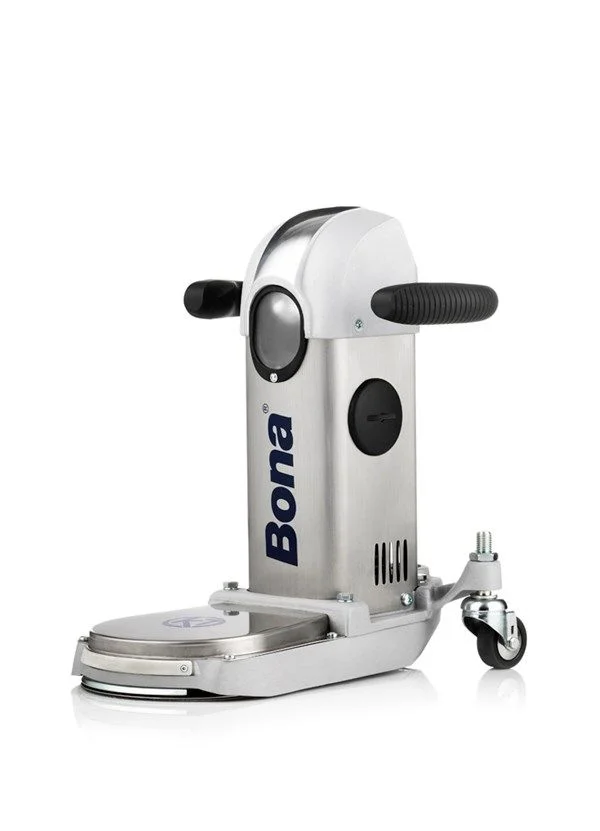
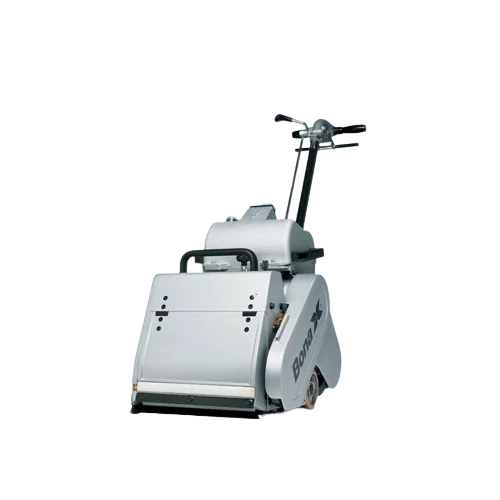
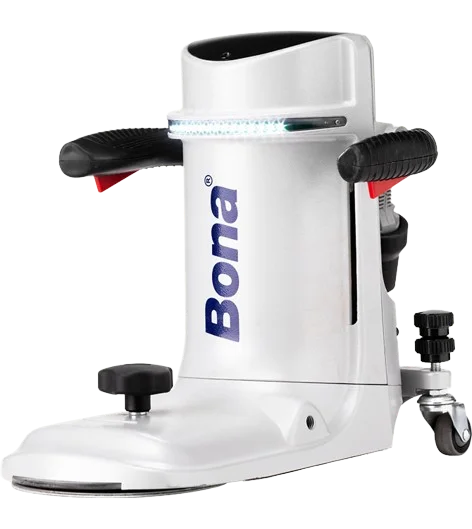
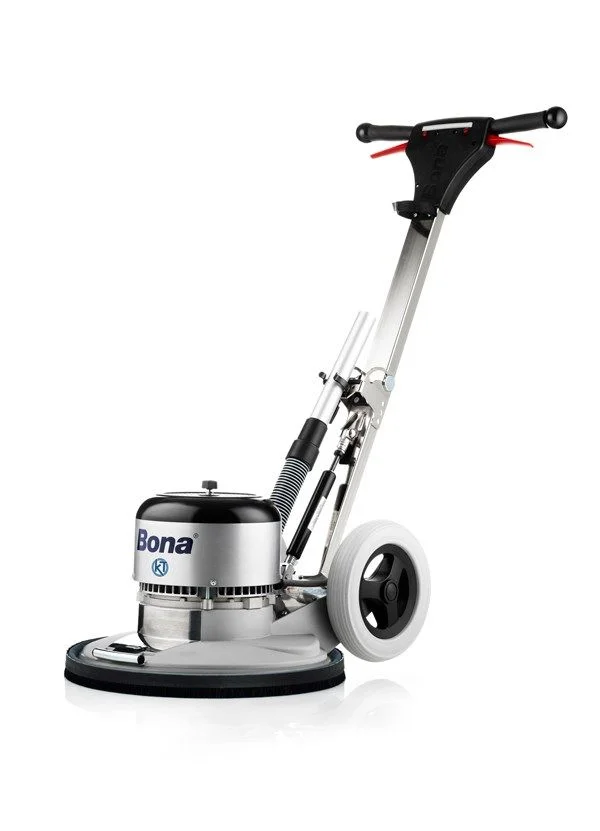
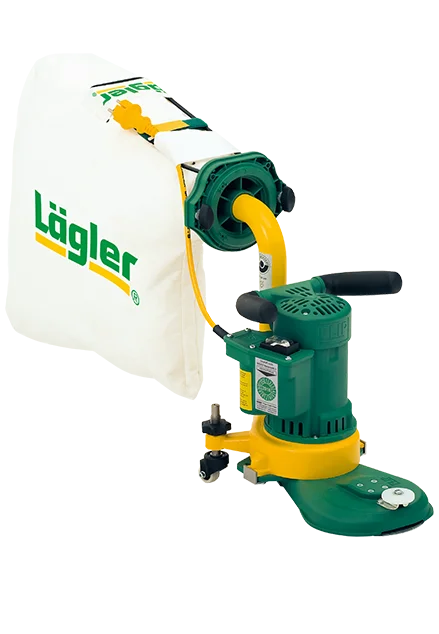
We're set to initiate the sanding process. Depending on your floor's condition, we'll employ various grades of sanding disks to reveal the pristine wood beneath the surface. Our advanced sanding equipment, including the Lagler Hummel machine, ensures a seamless sanding experience. The Hummel's integrated vacuum system minimizes dust, maintaining a clean environment. Edges and hard-to-reach areas will be meticulously sanded using smaller machines. A thorough vacuuming follows to eliminate residual dust and grit before proceeding to the final stage.
Step 3
Following sanding, your floor will undergo a remarkable transformation. It's now in its untreated state, susceptible to dirt absorption. Applying sealant promptly is crucial to protect and enhance its appearance. The initial layer of sealant creates a foundational barrier, facilitating subsequent applications. After the first layer, a brief drying period allows for the application of the second coat, ensuring a smooth finish. The final layer guarantees durability. While the floor may be walkable within 2-3 hours, it's advisable to wait at least 6 hours before replacing heavy furniture.
Maintenance
Maintaining your floor is straightforward. We recommend using a damp cloth with warm water for cleaning, avoiding excessive water exposure that could damage the floor. Diluted bleach and other suitable products can be used safely. For optimal results, ensure thorough drying after cleaning. Avoid using polish to prevent a slippery surface, prioritizing safety.
